
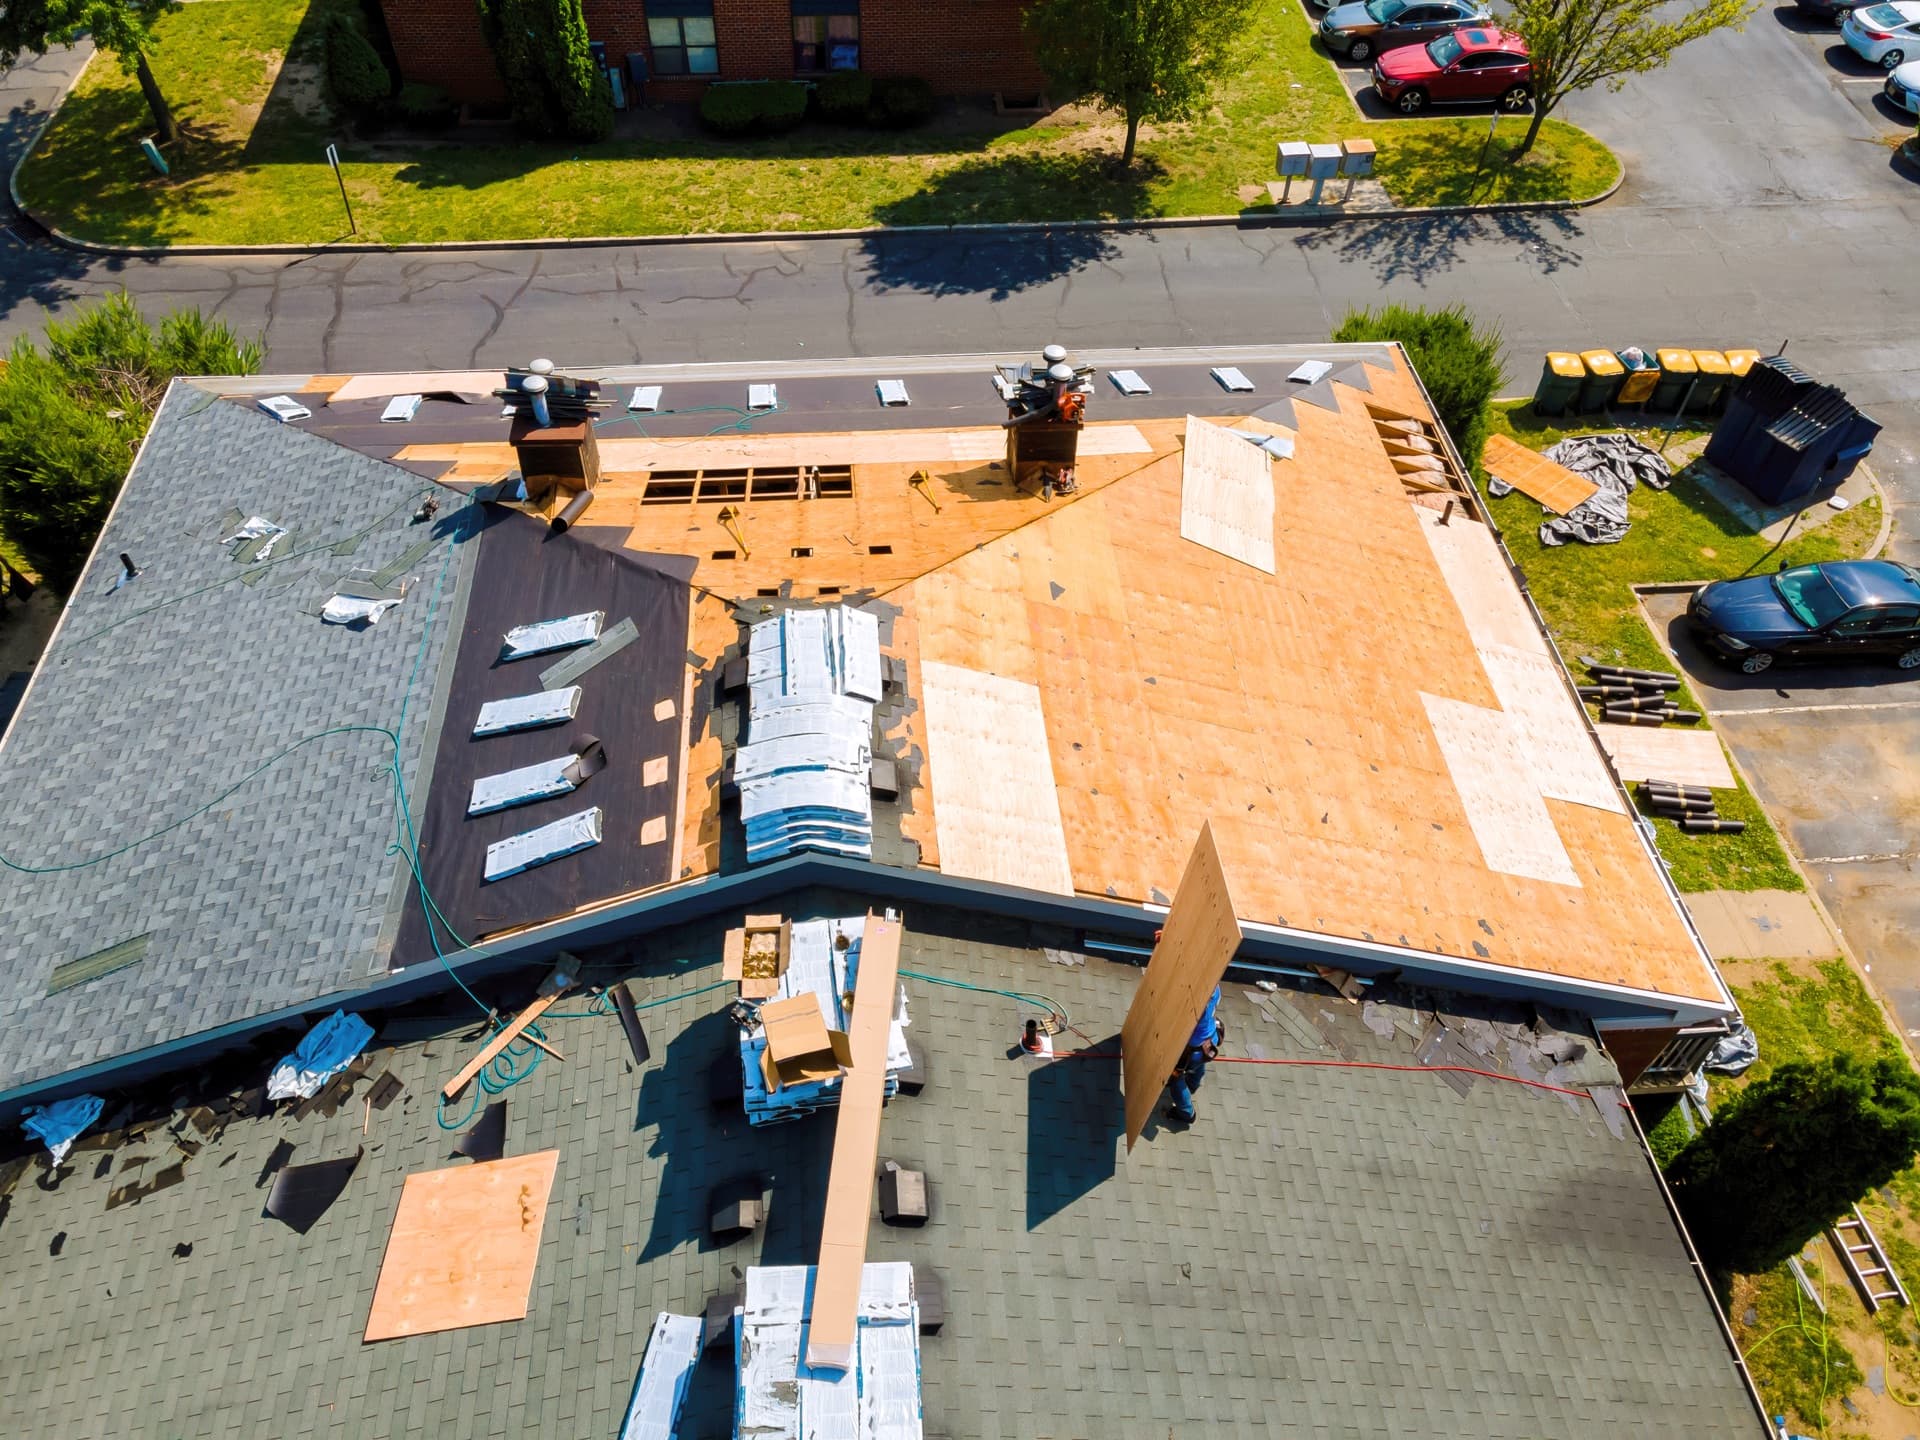
PNW windstorms don't really look like windstorms on the weather app. You'll see a forecast for 20 to 30 mph with gusts to 45, and you'll think: fine, it's another Tuesday in Seattle. Then the Convergence Zone sets up north of town, or a Pineapple Express ramps up off the Strait of Juan de Fuca, and suddenly your neighbor's cedar limb is in your driveway. We see the aftermath every winter, and the damage pattern is remarkably consistent once you know what you're looking at.
Start with a lap around the house
Before you climb anything or call anyone, walk the perimeter of your yard. Shingles on the ground are the tell. Even one. If you find a piece of asphalt shingle in the grass, that came off your roof or a neighbor's — you need to figure out which. Look around the drip line of the house first. A lot of the time you'll find granules washed out in a pile below the gutter downspouts, which means shingles somewhere up there have been beaten on hard enough to shed their surface. Check the yard for branches too. A heavy limb that bounces off the ridge can crack or displace shingles without leaving an obvious hole.
What to look for — from the ground
The roof can look fine and still be compromised
In 50 to 70 mph gusts, a lot of shingles get lifted and folded back without fully tearing free. They flop down when the wind dies and look totally normal from the ground. But the adhesive seal strip underneath — the thing that bonds each shingle to the one below it — is broken. The shingle is loose. Next time the wind picks up, that tab is gone, and now water has a direct path to the underlayment. The only way to catch this is to actually get on the roof and lift the tabs by hand. That's a roof repair inspection, not a DIY afternoon.
Look for 'blown up but not off' damage on slopes facing the storm direction (usually south and southwest here). If you see anything that looks slightly wavy or off-pattern from the ground with binoculars, that's a red flag. Ridge caps and flashing take a lot of wind abuse because they sit on the highest, most exposed part of the roof. Look for any section where the ridge line looks uneven or where a cap has shifted. Then check the flashing around the chimney, skylights, and any dormer walls. Downspouts and gutters tell a story — fresh dents, pulled brackets, or a gutter that's sagging away from the fascia means the wind was strong enough to move it. Gutters suddenly full of granules after a dry storm are another sign.
Document everything before anyone touches it
If there's visible damage, pull your phone out and start taking photos. Wide shots, close-ups, shingles in the yard, branches in the gutters, anything obvious. Date-stamped photos before any mitigation work starts are worth their weight in gold if you end up filing an insurance claim. Our insurance restoration team walks homeowners through this process all winter, and the cleanest claims are always from the people who took pictures first.
Tarp or call?
The 24 to 48 hour window
If water is actively coming in, tarp it. If you can't safely get up there, call. Either way, you want the active leak stopped within a few hours. Our emergency roof repair crew handles tarping seven days a week for exactly this reason. Most homeowner insurance policies require you to mitigate further damage after a storm event — if you know you've got a hole and don't tarp it, and then it rains for three days and the ceiling caves in, the carrier can deny the additional damage. Get it documented, get it tarped, start the claim.
Once the immediate stuff is handled, the bigger question is whether the roof can be repaired or if the damage tipped it into replacement territory. We wrote a companion piece on exactly how we make that call: emergency roof repair in Seattle covers what to do in the first ten minutes, and our fall rain prep guide is the place to start before the next storm season. Contact us to get someone out for a proper assessment.